About a month ago I came across a recipe for Red Velvet Cupcakes on one of my favorite cooking blogs,
Culinary In The Country. The recipe calls for buttermilk, and a different take on buttercream frosting, so I had to try it.
I made them the first time at last month's Spinning Friday at my house, and they were a hit with everyone. Unfortunately though, I didn't have quite enough red food coloring in the pantry so they were a tiny bit dull, and I left the frosting in the refrigerator overnight, making it almost impossible to pipe out gracefully. When I let it soften out in the counter for a little while, it went grainy on me, although the flavor was still good.
Still though,
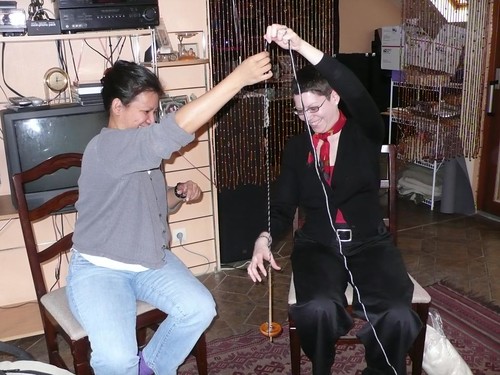
Dina and I taught
Alex to spin for the first time, so I still called the day a success.
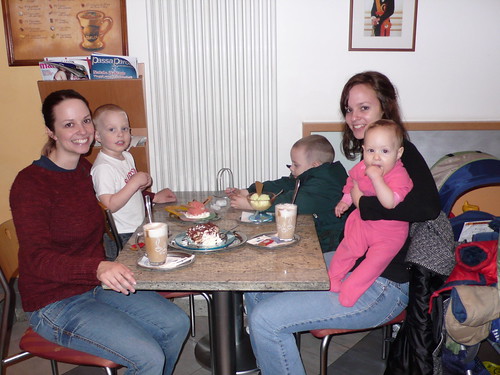
I brought the left-overs to one of my German neighbors afterwards, and they loved it so much that they requested it for the one daughter's 14th birthday, which was this Sunday.
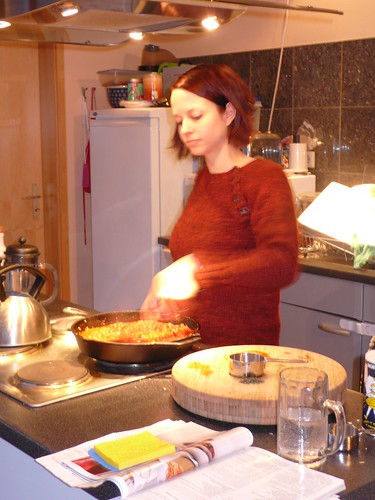
I am terrible at decorating cakes, but this time I gave myself a leg up on the whole affair by making the frosting the day of the event so that it would be as smooth and soft as possible.
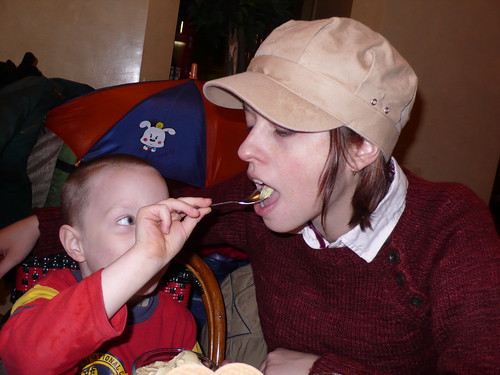
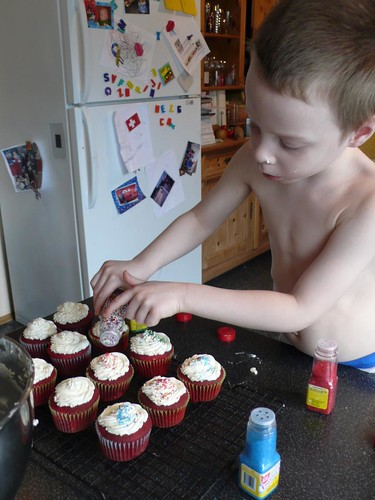
My two assistants help taste test the batter before the addition of the food coloring.
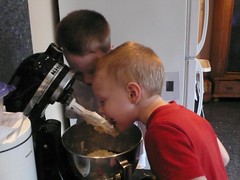
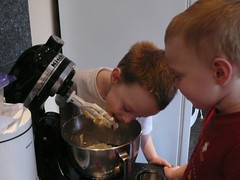
(Nope, it's not sanitary, but we're baking with kids here. They have no such concerns.)
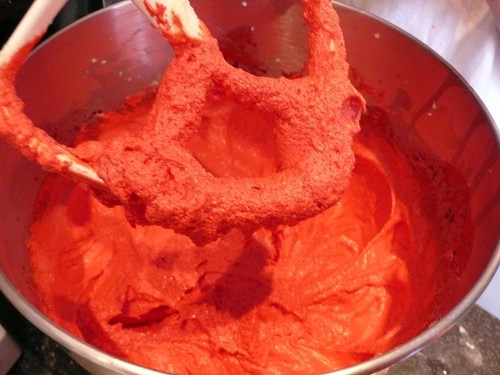
All went off without a hitch. This time I had enough food coloring.
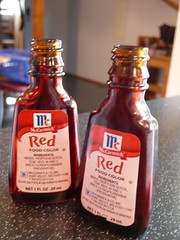
Yes, it takes two entire 1oz bottles. These aren't playing around with the "Red" aspect -- it actually turns your tongue that color too when you eat it.

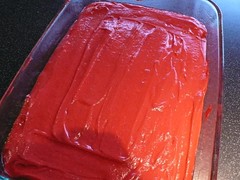
Cake just about to go into the oven.
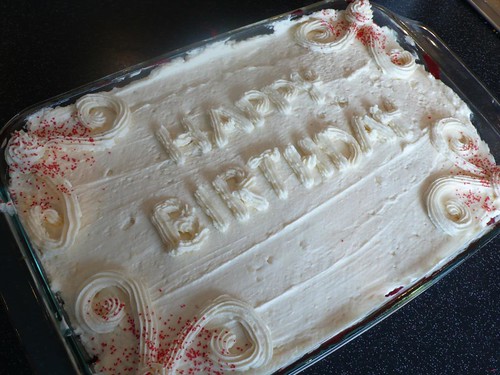
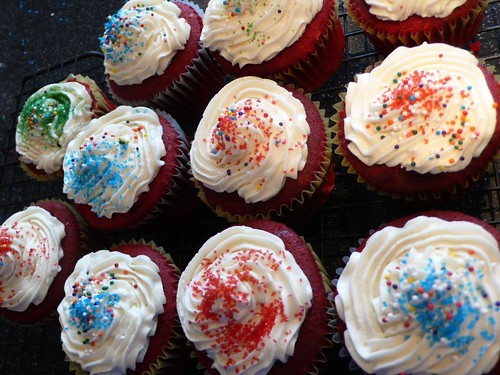
While the finished cake looked just a bit boring, it wasn't all messy and overdone like my decorating skills usually dictate.
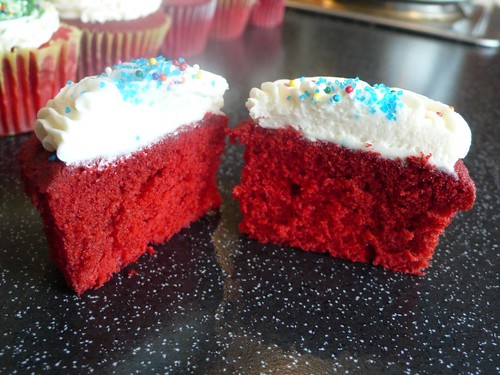
Personally I liked the texture of the cupcakes a bit better, but the difference was slight, and it seemed that the guests at the party liked all of it equally.
Sparky carefully sprinkled each cupcake with sugar, and I was very proud of his steady little hand. He's clocked a lot of time in the kitchen in his 4 years, and he always tells me how much he loves cooking. Look at how concentrated his face is here.
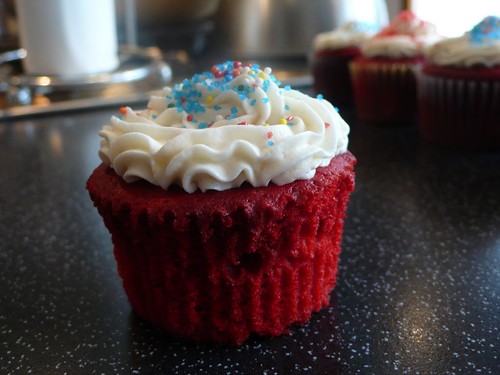
His is very proud to show you his completed cupcakes:
The crumb of the cupcake is moist (thanks to buttermilk), and light (cake flour), with a mild chocolate/vanilla flavor. The frosting is buttercream, but instead of being sickly sweet like most (buttercreams usually depend on powdered sugar to thicken them), these are pleasantly sweet with notes of vanilla, and is thickened with a cooked milk and flour mixture. I know, it sounds like a total bomb, but the paste gives it a silky mouthfeel -- just be sure to press saran wrap onto the surface of it as it cools, just like you would with pudding, so that a skin doesn't form.
I like these a lot, although in my opinion, as far as frosting goes, nothing can ever top a good cream cheese recipe.
(Recipe from
Culinary In The Country)
For the cupcakes2 1/2 cups cake flour
3 tablespoons natural cocoa powder
1 1/2 teaspoons baking powder
1/4 teaspoon salt
12 tablespoons unsalted butter, softened
2 cups granulated sugar
3 large eggs
1 teaspoon pure vanilla
2 ounces liquid red food coloring
3 tablespoons lukewarm water
1 cup buttermilk
1 tablespoon white vinegar
1 teaspoon baking soda
1 recipe Buttercream Frosting (recipe follows)
To make the cupcakesPreheat oven to 350
In a large bowl, sift together flour, cocoa, baking powder and salt.
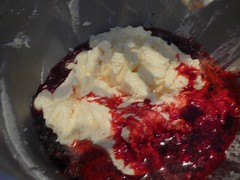
In a large mixing bowl, cream together butter and sugar until light and fluffy, about 5 to 7 minutes. Scrape down the bowl as needed. Beat in eggs, one at a time, mixing well after each. Mix in vanilla, red coloring and water until well combined. Add flour mixture, alternating with the buttermilk, beginning and ending with the flour - mixing just until combined.
In a small bowl, combine vinegar and baking soda. Quickly pour into the batter and stir just until combined. Evenly divide the batter between the wells of 24 muffin tin lined with paper cups.
Bake until the center springs back when lightly pressed in the center, about 18 to 25 minutes. Remove and let cool 5 minutes before carefully turning the cupcakes out to a wire rack to cool completely before frosting.
Makes 24 cupcakes. (For me it made 24 cupcakes plus a loaf pan, or one large 11x13" pyrex dish and 12 cupcakes -- I fill my muffin tins about 1/2 full to give them room to rise.)
Buttercream Frosting
1 1/2 cups milk
1/3 cup all-purpose flour
1/8 teaspoon salt
24 tablespoons (3 sticks) salted butter, softened
1 1/2 cups granulated sugar
2 teaspoons vanilla
In a medium saucepan, add milk, flour and salt - whisk until flour has dissolved. Place over medium heat, whisking, and cook until thickened and beginning to bubble. Reduce heat and cook, stirring, for 2 minutes. Remove from the heat and scoop into a bowl - cover with plastic wrap and place in the refrigerator until it has cooled down.
In a large mixing bowl, cream together butter and sugar until light and fluffy, about 5 minutes. Beat in vanilla extract. Scrape down the sides of the bowl - add the cooled milk mixture, 1/4 cup at a time, beating on low until smooth.
Blogged with Flock