Monday, July 25, 2011

While he was away...

For the past ten days, Greg has been away in Colorado with a group of guy friends for some manly outdoor-adventures and fun.

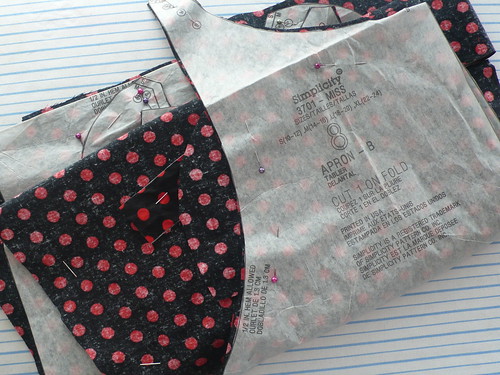
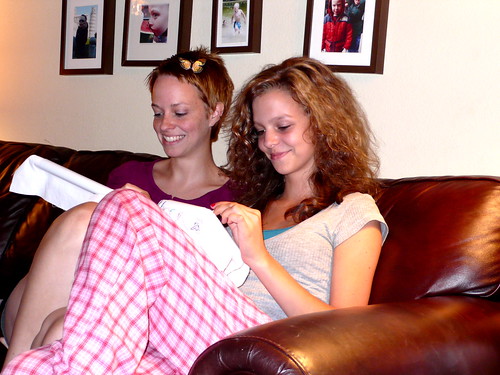
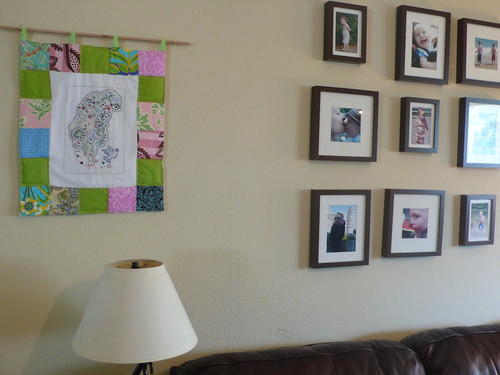
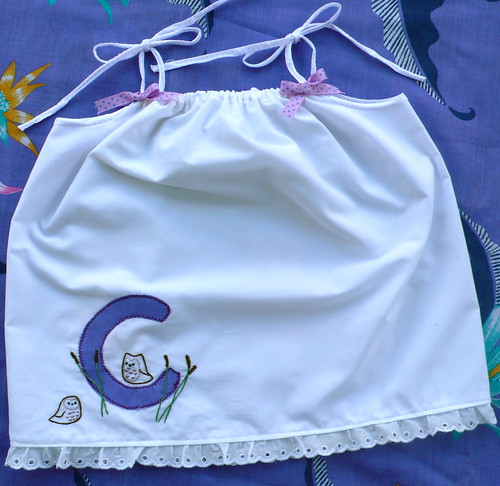
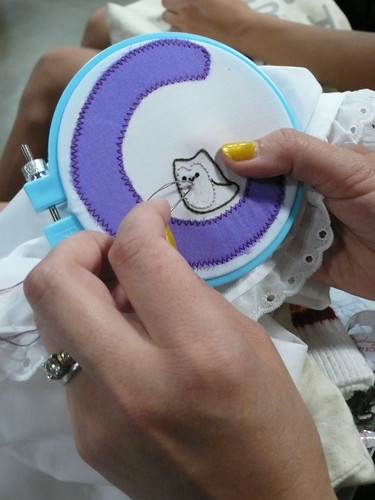
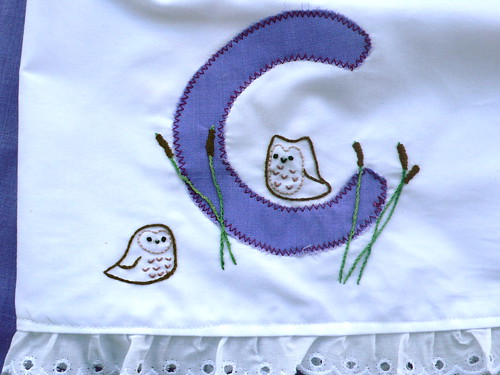
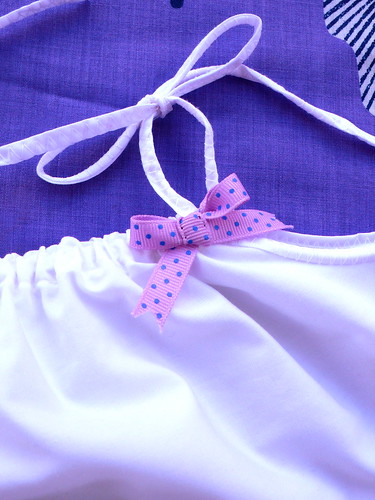
While he was away, we planned plenty of fun things to keep us occupied.  In the evenings I watched movies that he wasn't interested in seeing (catching up on the Harry Potter series, watching YouTube clips of Ellen), invited friends over for dinner, worked on projects in my studio (I have a new apron to show you tomorrow!), and read the The Hunger Games trilogy.

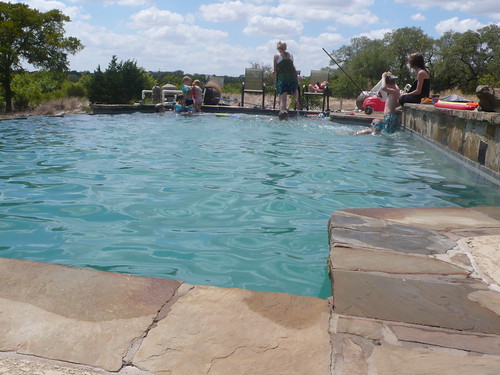
For our daytime activities, we had playdates with friends, trips to the library, swimming, reading together (Mary Poppins Opens the Door), making playdough, etc. 

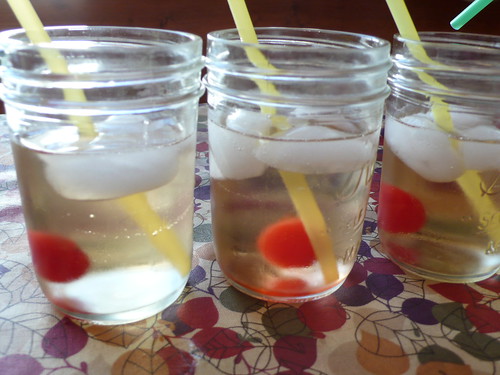
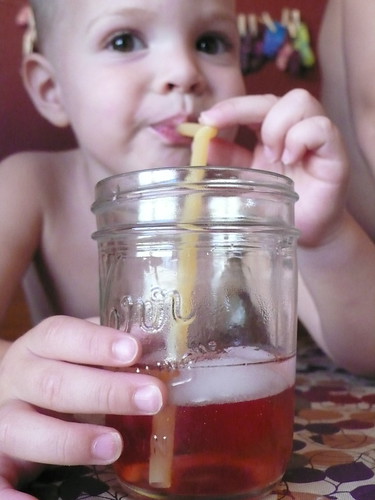
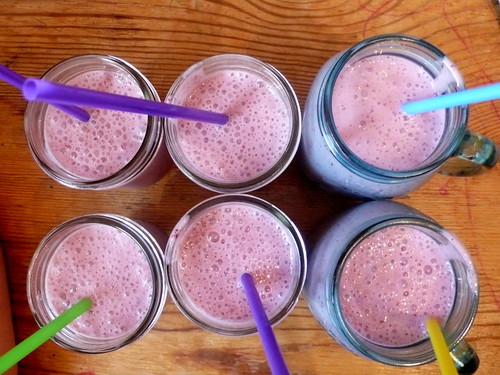
The children and I ordered some ice pop molds from Amazon.com (Tovolo brand Star and Groovy) and had fun experimenting with all sorts of fruit juice mixtures, fruit and yogurt shake leftovers, pureed fruit (sweetened up with a bit of agave nectar), honey sweetened puddings, etc.
Little Popsicle Eaters


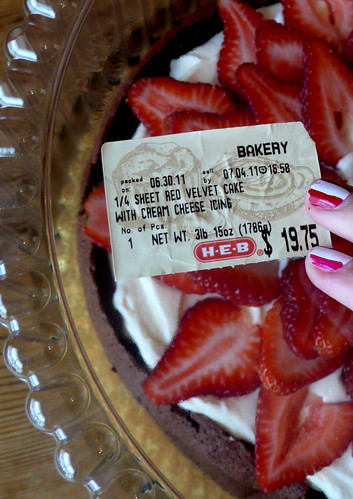
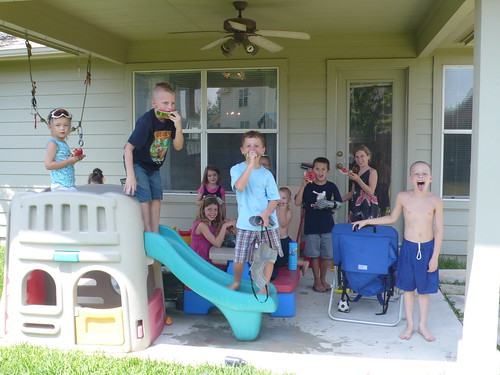
On Thursday we had a few families over for a Breakfast With Friends Potluck -- only 4 families total, but 13 children in all.  It was loud, but so much fun!

Breakfast Potluck with friends


We had gotten our carpets professionally cleaned on Friday morning, so Saturday was spent scrubbing the rest of the house down in anticipation of Greg's Sunday return.

For months now our shower has needed re-caulking around the bottom edges, so I decided to surprise Greg by completing the project while he was away.  In retrospect, I probably should have just left it to a professional -- removing old caulking is no small task, and then the clean-up, bleaching, drying time, and finally caulking is incredibly time consuming.  But it's good to have a mildew-free shower at last!  (Many thanks to our neighbor Josh for some helpful tips as well as a tube of caulk remover.)

Re-caulking the shower
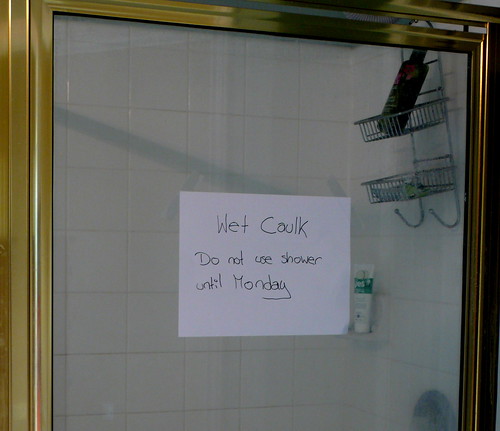
My first...and probably LAST home improvement project

After Greg arrived yesterday afternoon, we spent the rest of the day celebrating our togetherness.

Greg reading to the children

We had fun while he was gone, but we are ever so glad to be back together again.

Sunday, July 17, 2011

Random Sunday

1)  This is the embroidery I completed on our road trip to PA and NY last month.  They will be framed in ribbon-wrapped embroidery hoops and hung over Daisy's bed.  All motifs are from Aimee Ray's "Doodle Stitching: the motif collection".

Embroidery for Daisy completed on our road trip back East


2)  A Buttercup Bag that I made over the weekend. This is the third time I've used this pattern, and finally this one is for me!

Yellow and Grey Buttercup Bag

My cell phone, a lipstick, and a cute pen all fit perfectly in the inner pocket.  It's also exactly the right size to hold the Gathered Clutch I made a while back, so I'm using it as a wallet inside.  It coordinates as though I had planned it!

Yellow and Grey Buttercup Bag: inside detail


3)  Billy has graduated at last to a Big Boy Bed this past week, and has not (yet) fallen out!

Billy's Big Guy Bed

Billy in his Big Guy Bed


4)  Currently waiting for me in the studio...

At the sewing machine: current work in progress


5)  My favorite sandwich of the moment: Black Forest Ham, Avocado, Arugula and Cream Cheese on toasted homemade wheat bread (I added some alfalfa sprouts to this today too!).

Ham and Avocado Sandwich with Cream Cheese and Arugula

I hope you've all had a wonderful weekend!!

Thursday, July 14, 2011

Farewell


Today, it was with tears in our eyes that we said goodbye at last to Rachel.  It's been wonderful getting to know her better (I moved out of my parents' house when she was only 1-1/2), and we will all miss her so much!

When she first got here, I taught her how to sew the Mendocino sundress, and over the course of our visit, she made 4 of them:

Rachel's Mendocino Dress #2

Rachel's Mendocino Dress #3

Rachel's Mendocino Dress #4

...and of course this one:
Moviestars: Billy and Rachel
The children's bathroom mirror looks like this within 5 minutes of cleaning it.  Fabulous.

I got her an identical fly-fishing box to the one I have, for use as an embroidery kit.  I got her set up with all of her favorite colors of embroidery floss and a proper sharp needle (she'd been embroidering back in NY with all six strands of floss and using a blunt-tip yarn needle -- perseverance, I tell you!) We cut out these cute little thread bobbins to organized our floss.

Stitching with my little sister

Rachel's beautiful finished project (an embroidered pillow -- yet to be stuffed) for a friend back in NY:
Rachel's embroidered pillow for a friend
These embellishments are from Doodle Stitching: The Motif Collection by Aimee Ray

Rachel's embroidered pillow for a friend


During our visit there were fun summertime drinks:

Baby Mocktails
Baby Mocktails

Baby Mocktails

Baby Mocktails

Breakfast Smoothies
Berry Breakfast Smoothies

Drinking breakfast smoothies

Drinking breakfast smoothies

A whole lot of cooking and baking:
Baking Banana Muffins with Rachel

Eating lunch and looking through the Shrek cookbook with Rachel
Perusing cookbooks

And swimming as much as possible:
Playing at a friend's pool

We love you Rachel, and we hope you can come back to visit with us again!

Tuesday, July 12, 2011

"Thinking" Quilt

Do you remember this embroidery that I finished a while back?

Completed Thinking Embroidery
"Thinking" embroidery pattern from Aimee Ray's etsy shop, little dear

A few weeks ago, I finally pieced together some squares of Amy Butler fabric to edge the embroidery panel and turned the whole thing into a little wall quilt.

"Thinking" wall quilt

I love how it looks in our living room!

"Thinking" wall quilt

The decorating of this house has been very slow, but I love mindfully choosing projects, working on them by hand, and coming up with perfect pieces to fit into our home, creating Our Family's Style.

What's your favorite piece of home decor in your house?  Was it handmade by you, by someone else, or did you buy it?  What makes it special to you?

Sunday, July 10, 2011

Monogramed Pillowcase Baby Dress (and a little bit of Roller Derby)

Embroidery.  I've been on a crazy embroidery kick lately, and there's no help for it.  Also, remember that appliqué rabbit-hole that I promised I'd fall into?  Behold:

Pillowcase Dress for Becca's Baby

One of my best friends is due in September with girl-baby "C".  Today was her baby shower, so of course I waited until yesterday to make this little dress.  (OF COURSE.)

Becca's Baby Shower
Becca on the left, and on the right is the fabulous host of the shower, Jenny (a.k.a. Wanna Be Derby Girl)

I monogrammed the dress (Heat 'N Bond ironed onto the back of the "C", then stitched onto the garment with zig-zag on my machine), and hand-embroidered two little owls playing among cattails around it the letter.  The owls from the "Woodland Creatures" page in Amy Ray's Doodle Stitching: the Motif Collection.  I free-handed the cattails, because I wanted them to look organic to the the design.

Doodle Stitching: The Motif Collection: 400+ Easy Embroidery Designs

We went to Roller Derby last night, and I brought the tiny dress with me to work on while we waited for the bout to begin.  Maybe Baby C will be a Derby Girl someday. :-)

Stitching at Roller Derby

TXRD Rhinestone Cowgirls vs. Las Puntas Del Fuego

Pillowcase Dress for Becca's Baby

I'm pretty in love with how this came out.

Pillowcase Dress for Becca's Baby

I made this a 3-month size, and since the straps tie and the top is stretchy, this will be able to grow with the baby into a tunic top.  It's also machine washable (incredibly important!), since the fabric is simple cotton sheeting.  There are not many things sweeter than a tiny girl in a simple white dress.  It seems impractical, but the truth of it is: if there is a spill (and there will ALWAYS be a spill!), it can be very simply bleached out.

Here are the specs I sketched out for this size (posted here for posterity, since I am sure that I will need it again for future baby gifts):
Specs for 3-month size Pillowcase Dress

Now I want to monogram some skirts and dresses for Daisy too.  She's learning her letters, and would be thrilled to find "her" letter on her things!

Saturday, July 09, 2011

A birthday party for a wanna-be Derby Girl

On Tuesday, I arranged some of Jenny Hart's Roller Derby designs from Sublime Stitching, traced it onto fabric, and started stitching a birthday gift for my dear friend Jenny P.  I had to leave the house for her birthday party at 5:30PM today, and finished the last stitch on her gift at 4PM. (!!!)    I quickly set it in a simple wooden frame, wrapped it in red tissue paper, and tied it up with a bit of vintage white rick-rack.  So relieved to have finished it in time!

Roller Derby Girl "Jenny-Itus"

Jenny is known for her reckless crafting, rock 'n roll style, which she attributes to a sickness known as "Jennyitus".  She and I like to imagine that we will be Derby Girls some day, and of course Jennyitus will be her name.  I have yet to come up with my Derby name...

Most of the party guests ordered these "Jennyitus" shirts to wear in support of our favorite illness:

Jennyitus t-shirt
(Graffiti letters designed by our friend Mike, screen-printing arranged by Lisa H.)

The birthday girl is gluten intolerant, so I had planned to maker her a special cake that she could actually eat, but suddenly there was a snag in the plan: the restaurant we were holding the party at doesn't allow take-in-cakes unless it has been made in a commercial kitchen.  My friend Alicia elaborated: "I'm pretty sure that just means your home-made cake just needs to be in a bakery box..."  I was terrified of getting caught out, but I was determined to make Jenny's cake.

I went to our local HEB (grocery store), and asked to purchase a round plastic cake box and a gold cardboard circle to set my cake on.  While the bakery girl had her back turned, I started quickly picking off the price sticker on the cake nearest to me on the rack, which just so happened to be a "1/4 sheet Red Velvet Cake with Cream Cheese Frosting".  The bakery girl turned back to me while I was still removing the sticker (just below the counter, a tiny bit out of her line of sight), and saw me staring vaguely into space.  "...Is there anything else I can help you with?"  (and the sticker came off the box with a pop!!!)  "No, no, that will be all."  (surreptitiously hiding the stolen sticker in my sweaty palm as I took the cake box she was handing over)


In the past, my cakes have never been known for their looks, but with the pressure of the Bakery Cake Look Alike, I gave it my best effort and turned out the prettiest cake I've ever made.  (Nope, I'm not going to be modest about it.  Most of the time my cakes are ugly, so I am pretty damn proud of this one!)

Cracked Earth Chocolate Cake with Stabilized Whipped Cream and Strawberries

I used this Cracked Earth Chocolate Cake recipe, which turns out a moist, fudgy cake with a cracked top, and frosted the top with a simple stabilized whipped cream, topped with artfully arranged strawberries.  (This whipped cream sets up really nice and firm once it's been chilled, so if you use this recipe, be sure to frost your cake with it immediately, and set any decorations into it right away as well.)

Faking a bakery cake

The waitstaff never questioned the "red velvet" sticker, or the fact that it was supposed to be square and not round (!), and the birthday girl enjoyed her cake.  Success!

Faking a bakery cake
(Please excuse the chipped manicure...)

Cracked Earth Chocolate Cake with Stabilized Whipped Cream and Strawberries

So tell me: what is the most shady thing you've done in the name of love?  What's the closest you've ever come to a deadline?  Also, what would your Roller Derby name be?  What should mine be?

Thursday, July 07, 2011

Bandana-to-Headband: a semi-tutorial

Thank you for all of the positive comments on my new hairstyle.  You guys encourage me so much!  Here's the Big Bad Hair Story: So.  I was getting tired of the black hair.  I wanted a change.  I wanted to be white blond again.  So I bleached my hair.  Twice, with 30 vol. developer.  Then I dyed my hair with blond dye...once again using 30 vol. developer.  My roots turned white (yay!), but then there was the dark, bright orange demarkation, and it just looked horrible.  On top of the terrible color, my hair also felt like mush.

I put a deep conditioning mask on it and hoped for the best, but when I attempted to style it, the ends just started breaking off in my hands.  When I say "ends", I should probably clarify: a full 4 inches of my hair was completely destroyed, leaving only about 1 inch of healthy (and white) hair.

I scheduled an emergency haircut with my hair-stylist for the next morning, and brought this photo of Emma Watson.  As soon as I got home, I dyed over the orange/white with dark ash blond, and it turned this final shade of pleasant dark-strawberry blond.

This is not the first emergency haircut I've gotten -- I have destroyed my hair before, and I've had a pixie haircut several times in the past, but this is certainly the shortest, and it was not at all planned.  I cried the first night; I love the drama of having hair around my face, and I was completely emotionally unprepared for how bare and boyish I'd feel with such a short cut.  Now that I've had this style for nearly a week, I've adjusted, and I'm feeling a little more myself.  I do plan to grow it back out though.  Not sure what style exactly, but I look forward to having just a little more length again.  At the moment though, I'm enjoying the shorted prep time when I get ready for my day!


Alright, enough about my hair!  On to the "tutorial".  I'm not sure if I should actually be calling this a tutorial, because this is such a simple, obvious little 5 minute project, but yet here I am telling you all about it anyway.

When I want to wear a bandana as a headband, I often find that the multiple layers of folding feel and look bulky on my head.  I've been meaning to make this project for quite a while, so on Monday, about 10 minutes before we walked out the door, I quickly ran into my studio and whipped up this cute little accessory.

First, measure across the diagonal of the square bandana, 4 inches from the corner on each side of the point.  Using a rotary cutter and a large clear quilter's ruler, cut out the center strip as marked.  (Or just use scissors.  Whichever.)

Bandana-to-headband

Set aside the side triangles for some other use.

Fold the triangle lengthwise, right sides together, and sew along the long edge.  Turn right side out.  Iron flat with the seam in the center of the underside.

Bandana-to-headband


I think it would be kind of fun to wear this as a tie also, although it might be a little short...

Bandana-to-headband


Now put on your new accessory and strut your stuff like a rockstar.

L1250486

LinkWithin

Related Posts Plugin for WordPress, Blogger...