Edited to add: if you don't have a zig-zag stitch on your machine, check out Adrienne/Linuxwitch's quick-'n-dirty tutorial on Flickr:
Topstitched Hem Tutorial (Thank you, Adrienne!)
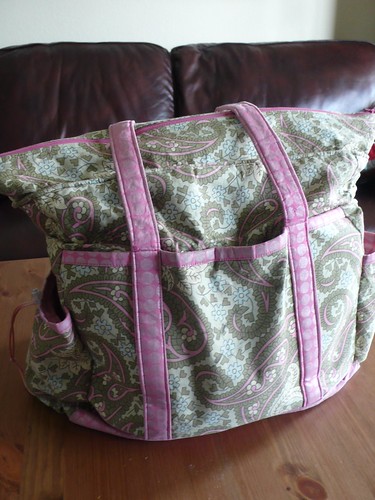
Thank you for all of the birthday and well wishes! I am feeling a good bit better today, and am very much looking forward to Maryland Sheep and Wool Festival this weekend. I will be there both days, and if you happen to see me, I'd love to meet you! I've got a terrible memory for faces and names, but I'll be carrying this huge, one-of-a-kind tote (thank you again to Sarah's mom who made this so many years ago!), which may help you to locate me:
I've also just got an order of Moo cards, which are so freaking cute, I can hardly stand it!
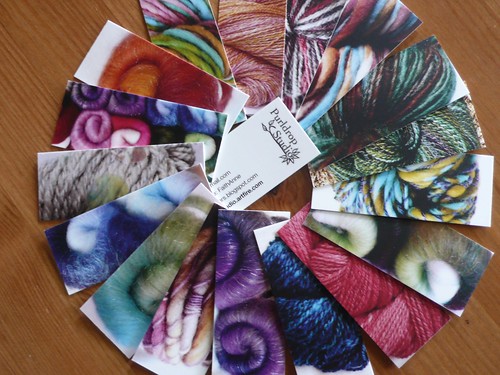
I'm not sure how I will bear to part with them, but if you come up to say hi, I'll be handing these out at the fest.
So. On to the tutorial!!
NOTE: This is my first full tutorial, so forgive any clumsiness -- also, I have specifically tailored this to the absolute beginner who may never have used a sewing machine or needle and thread, so if you are more experienced, forgive the excess detail! If you find that you still have questions though or have suggestions for clarifications, please let me know!
SECOND NOTE : my completed dress was a size 4T, so keep that in mind when I give specific measurements and adjust as needed.
For the slightly more succinct Flickr version, check out the Flickr photoset here.
Tools you will need:
Iron, wash-out (or disappearing) marker, straight pins, measuring tape, stitch ripper, straight edge (like a ruler or edge of cardboard), coordinating thread, bias tape to match or coordinate with the pillowcase, print-out of the
armhole template (from About.com), and -- of course -- a pillowcase (this should be obvious, but you can also just sew a 40" wide piece of fabric into a tube and use that instead of a pillowcase).
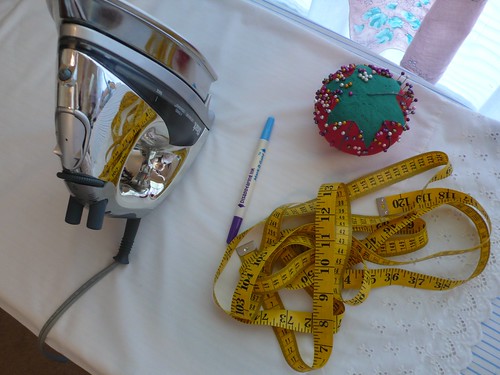
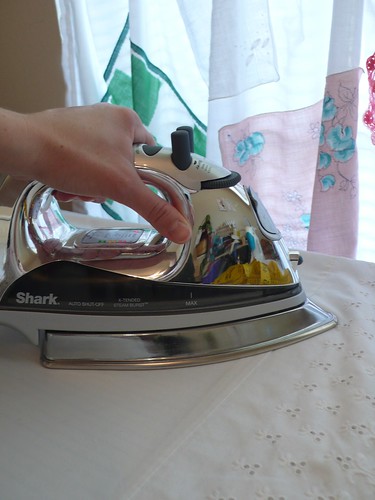
Step 1: Press your pillowcase perfectly flat (never skimp on pressing! You'll save yourself time in the long run, I promise!).
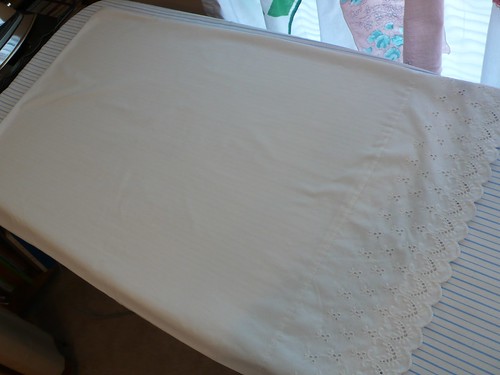
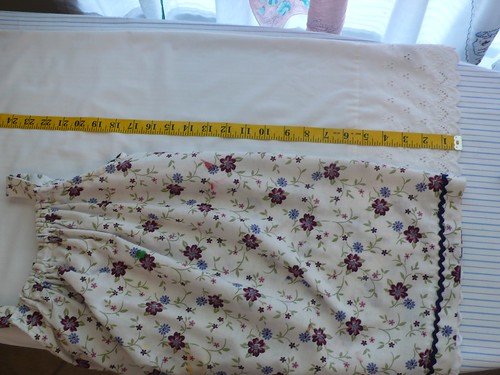
Step 2: Determine how long you want your dress to be (I used another dress, but you can also just measure your child -- collarbone to calf, or whatever your intended length), and add approx. 1" to this length to account for the elastic casing you will be sewing into the top.
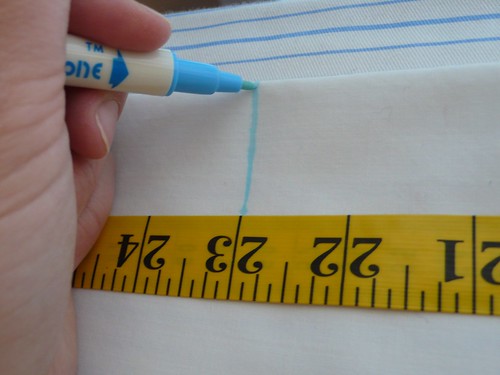
Step 3: Mark off your measurement from the bottom hem of pillowcase with the wash-out marker.
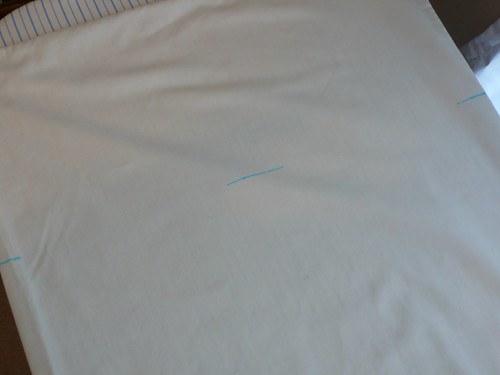
Mark at the center and the other side as well.
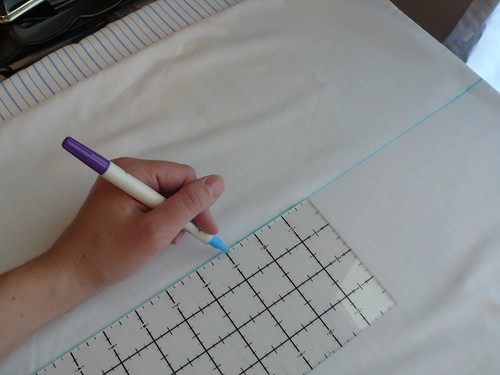
Use your straight edge to connect the dashes.
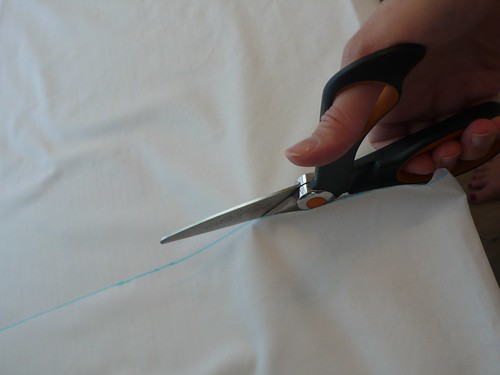
Step 4: Cut along line. (Be sure that you are cutting off the TOP of the pillowcase!)
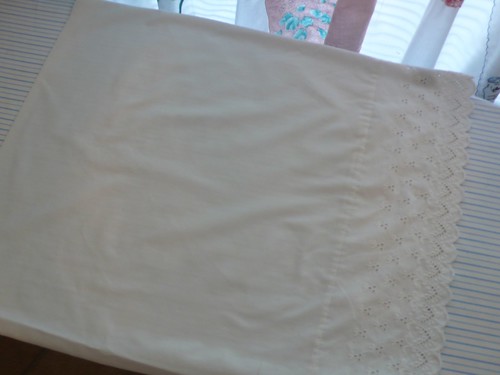
This is how it should look now.
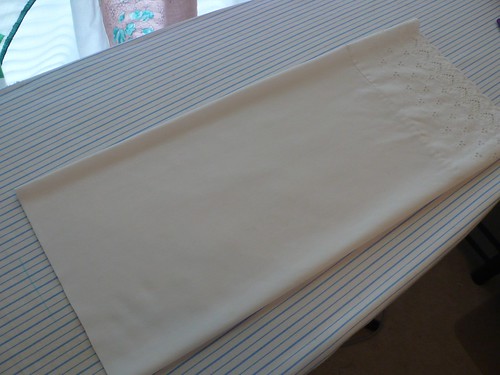
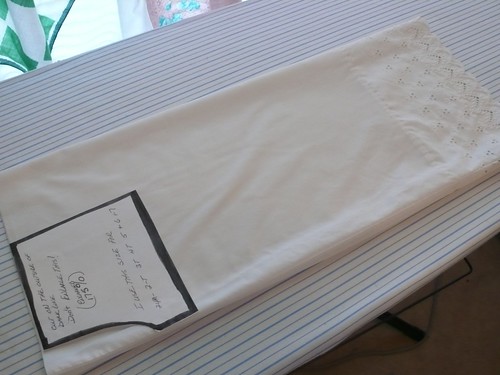
Step 5: Fold remaining pillowcase in half lengthwise.
Lay armhole template/pattern-piece on top of the doubled edge.
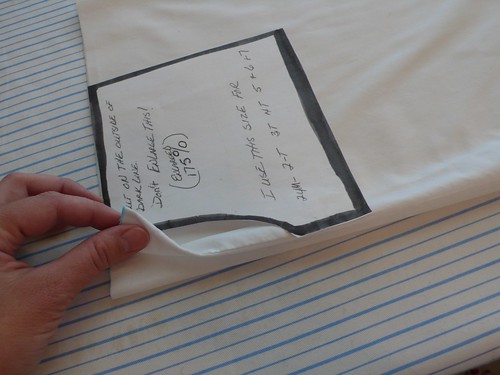
If you want to just create your own armhole curve, follow these measurements (approx 3" x 1-1/4"):
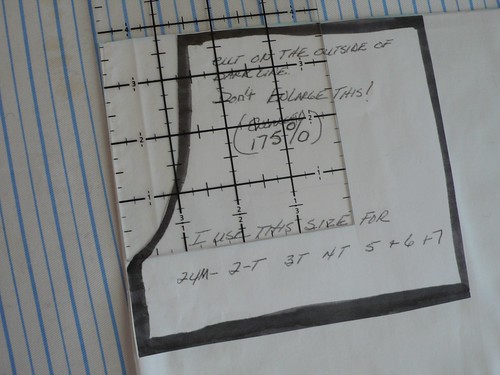
IMPORTANT: if you plan to use a thicker elastic than the 1/4" one that I used, bring your template down by about 1" or so to give you more room for the casing that we're just about to sew.
Trace along the template, remove, and pin fabric together so that it can't shift while you cut.
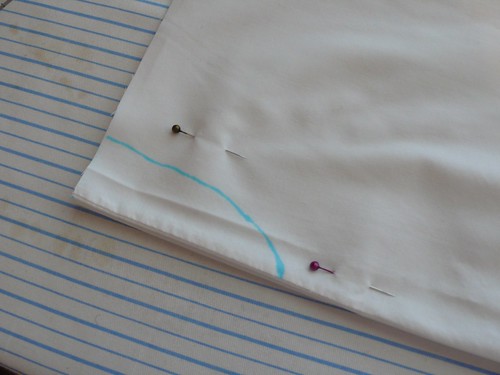
Step 6: Cut along line, and open out pillowcase.
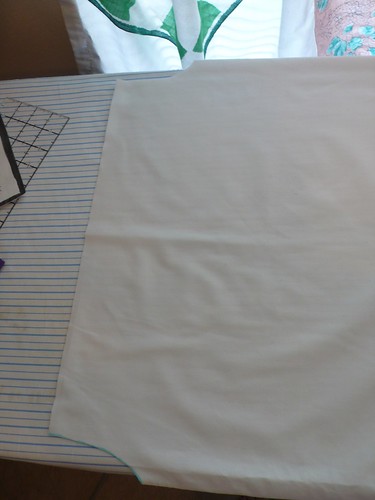
Step 7: Turn pillowcase inside-out and fold down raw top edge 1/4" inch:
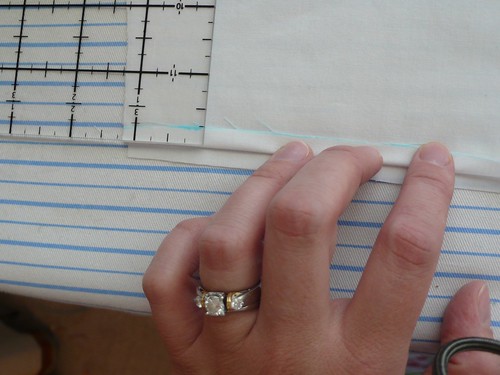
Press 1/4" across:
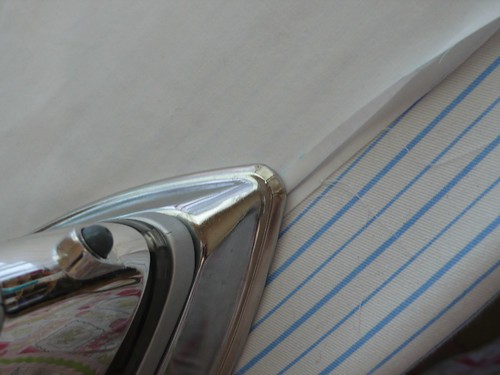
Repeat for the other side.
Step 8: Turn the top edge under again 1/2" inch (or a bit more if your elastic is wider than 1/4" inch -- you want to have about 1/4" extra to make it easier to thread the elastic through in the next step). Press again.:
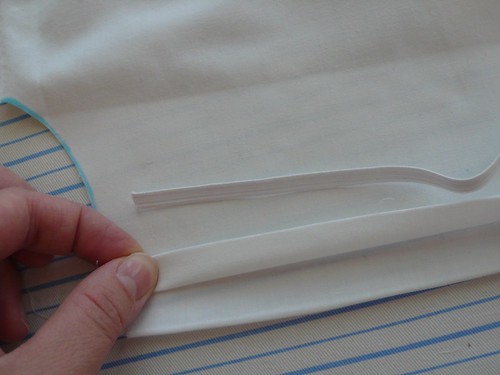
Repeat on the other side. Your top edges should now match, enclosing the raw edge completely, like this:
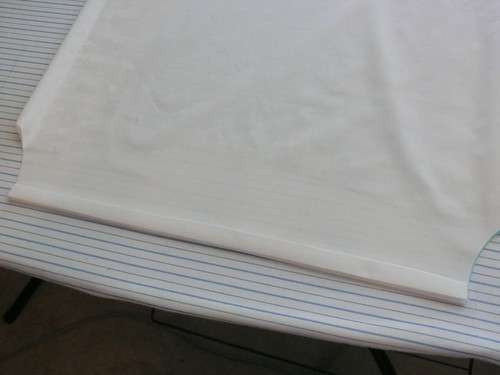
Close-up of how it should look -- this is going to be the casing for the elastic:
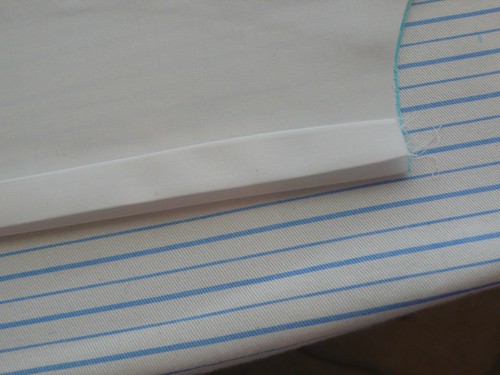
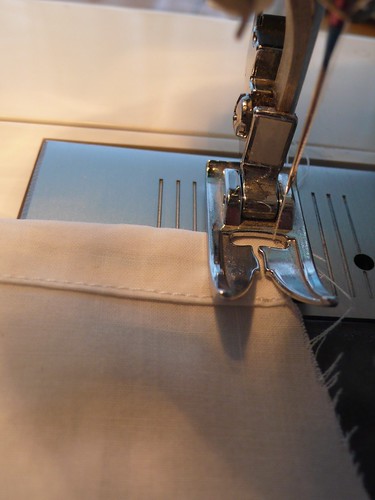
Step 9: If possible, adjust your sewing machine needle to the side so that it will be easier to sew very close to the edge of your casing.
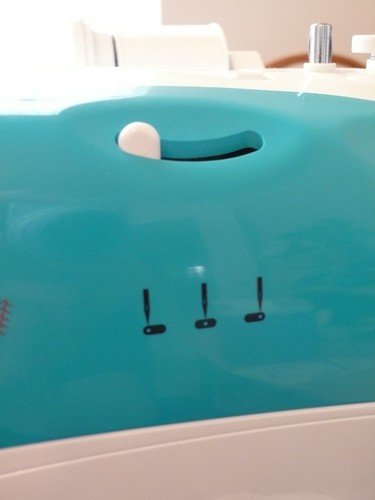
Your needle should look like this:
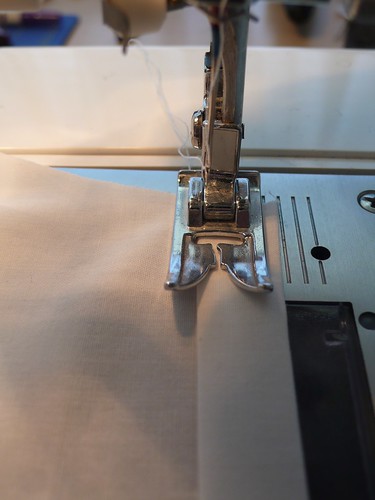
If your machine does not have that option, simply place your fabric under the presser foot so that you can sew as close to the edge as possible (just sew carefully -- the edge of the presser foot tends to catch and lift up the hem when you do it this way).
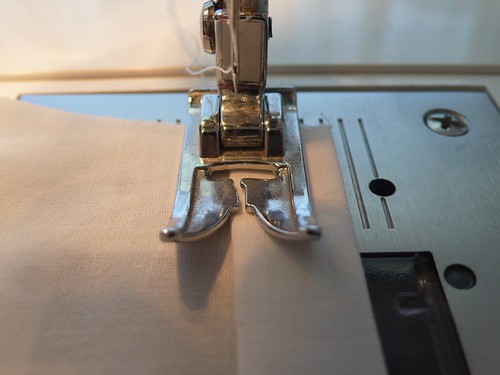
Step 10: Every time you start a seam, back-stitch about an inch first -- on my machine, I push this button while pushing down with my foot on the treadle to make it go backwards:
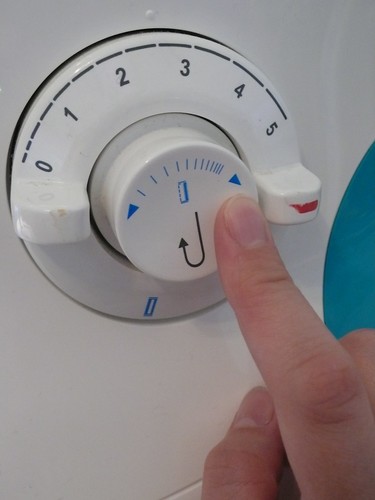
Sew across, back-stitching again for the last inch at the other end of your seam. Flip the dress over and repeat for the other side.
Check your seams over carefully to ensure that you haven't lost the edge anywhere, and go back over it in those spots if you need to.
Your top edge should look like this:
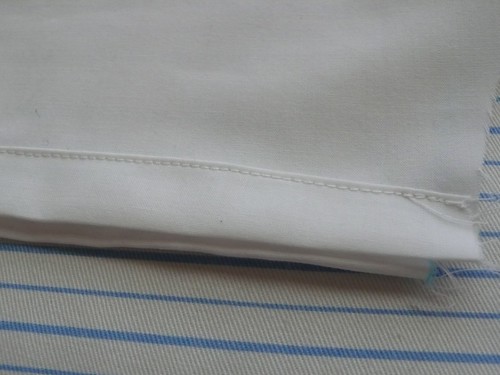
Step 11: Attach a safety pin to the end of your elastic. I used a 1/4" wide elastic here, but you can use whatever you have on hand (just make sure that it's slightly smaller than the casing you just created!)
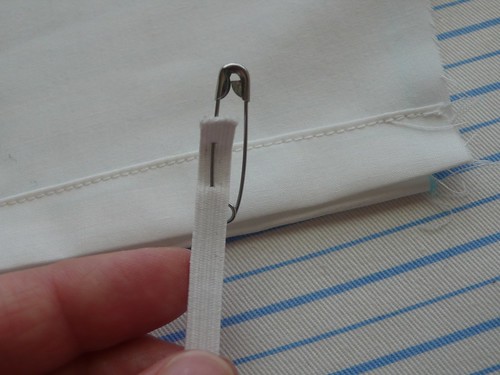
Thread the elastic through the casing, using the safety pin as guide:
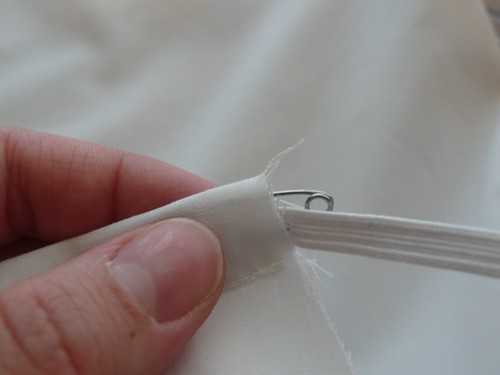
Pull all the way through to the other side.
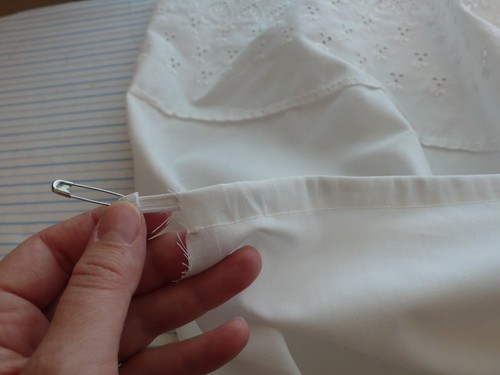
Step 12: Sew back and forth across one end of your casing, being sure to catch and secure the elastic inside. I sewed back and forth at least 4 times -- no excuses for a weak seam!
Pull the other side of the elastic to gather the bodice:
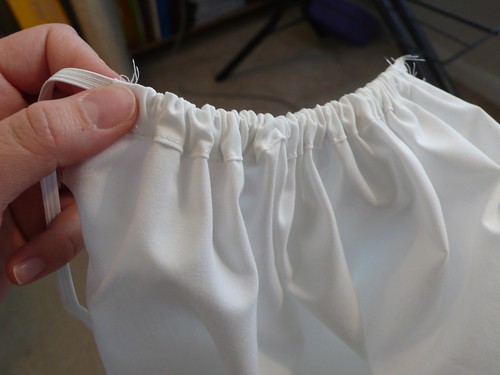
I gathered this to about 5-1/2" for the size 4T dress.
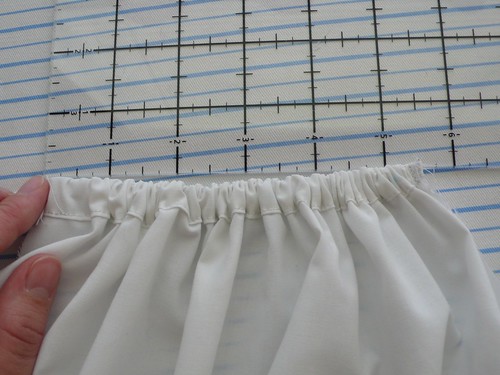
Snip the elastic as close as you can to the edge of the fabric, and sew back and forth across this end to secure as well.
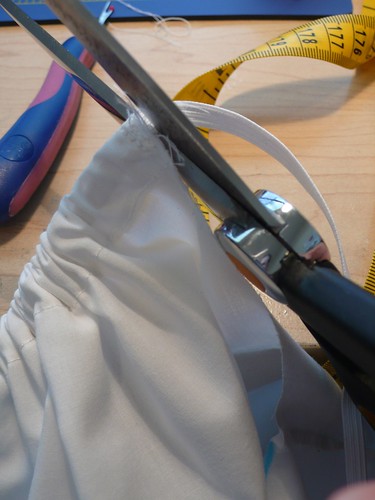
Repeat for the other side. Your dress should now look like this:
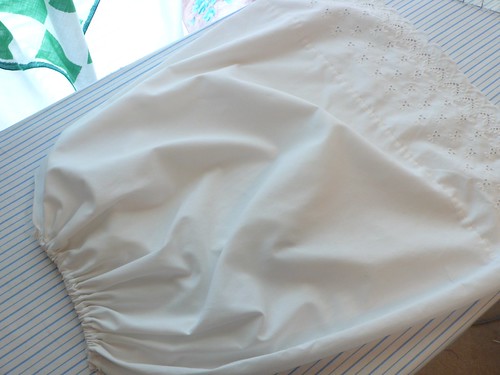
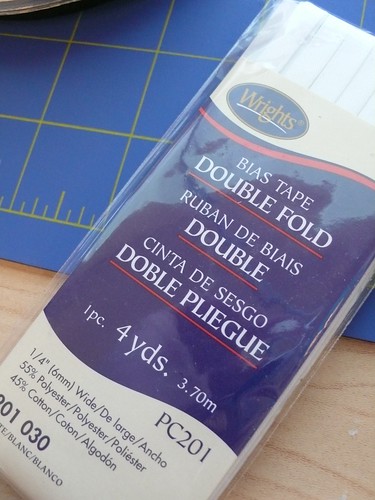
Step 13: Get out your bias tape. I used 1/4" wide here, but you might want to start with a little wider to start -- it's a little easier to use if you've never worked with it before.
Measure out 12" of bias tape (but do not cut):
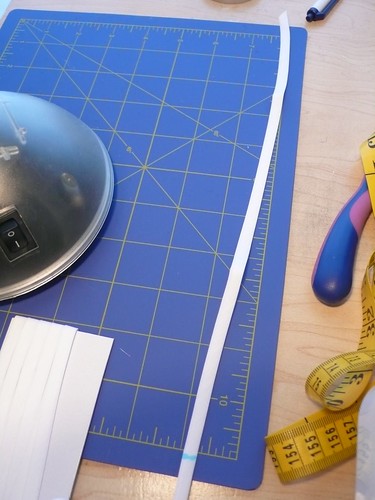
Mark off the 12":
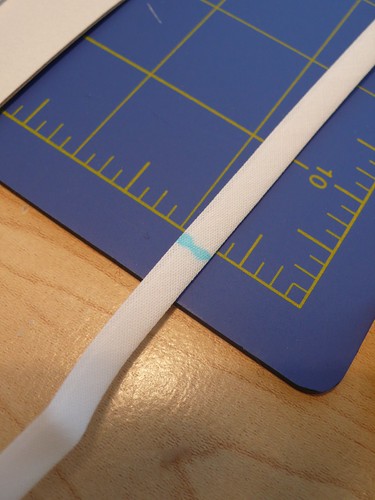
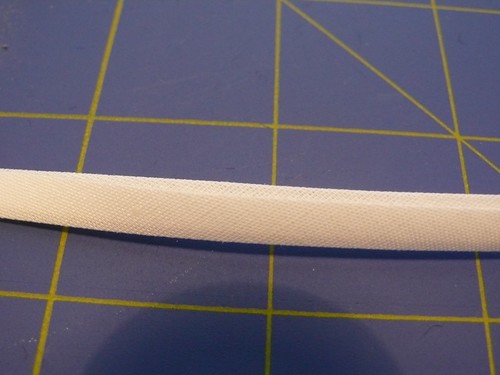
Determine which side is the shorter edge -- this will be on the "right" side of your garment.
Turn the dress right-side-out (we will be sewing on the right side of the dress now, which helps it to look a bit neater).
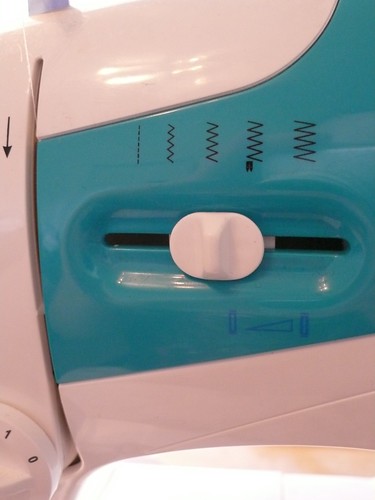
Step 14: Switch your machine to "zig-zag" stitch.
Sew the 12" of bias tape shut:
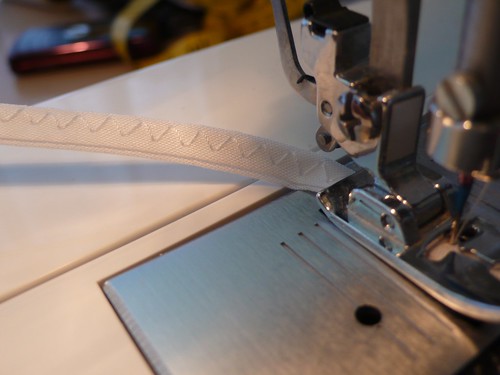
With needle still down in the fabric, mid-stitch, lift the presser foot:
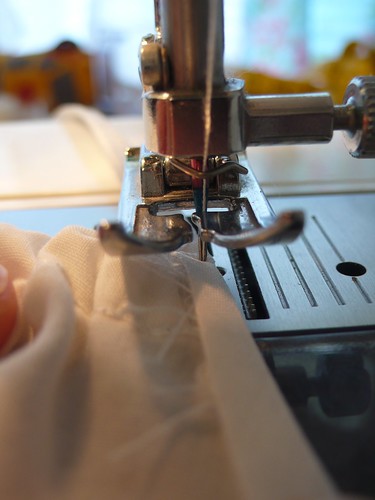
Open up the bias tape and slip the raw armhole edge inside, right up snug against the needle like this:
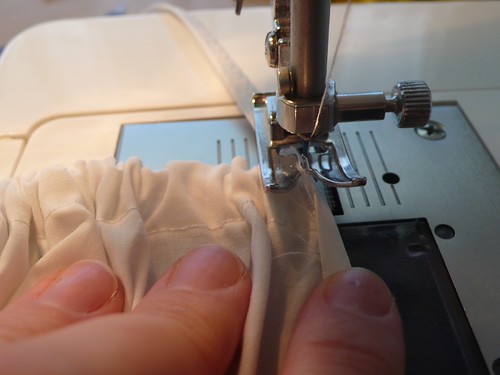
This is a slightly clearer look of how the edge looks going into the bias tape (although this pic was taken before I'd sewn the first 12" shut)
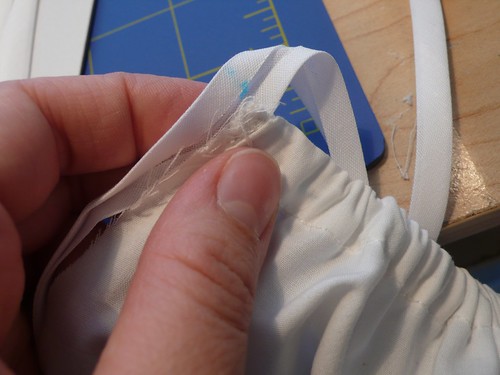
Sew along the armhole, being careful to readjust as needed, keeping the raw edge fully enclosed in the bias tape edging. Be especially careful in the deepest part of the curve. Continue to sew past the opposite edge, and sew another 12" of bias tape closed for the other side of the shoulder tie.
Repeat on the second armhole. Your dress will now look like this:
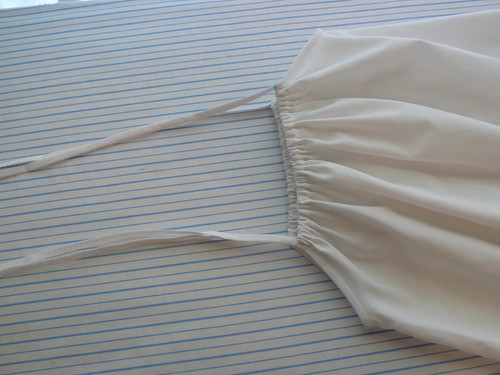
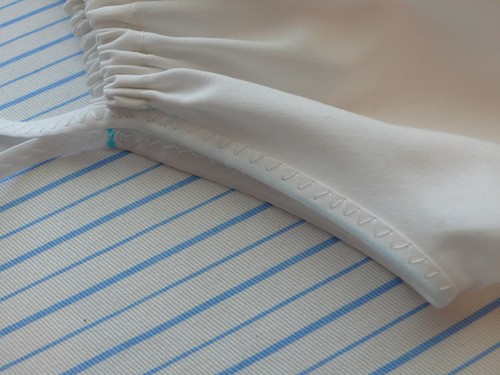
Close-up of bias-tape edging:
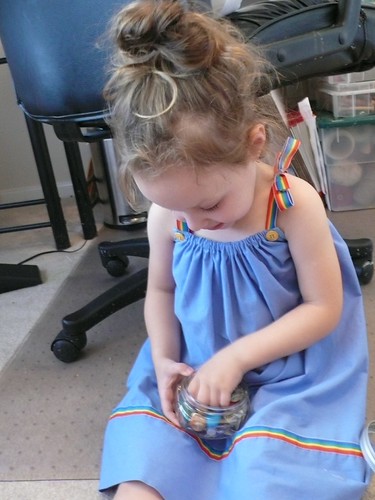
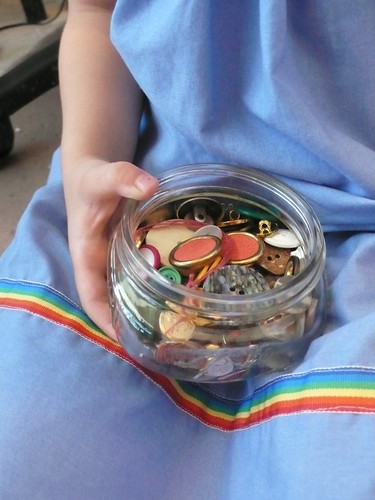
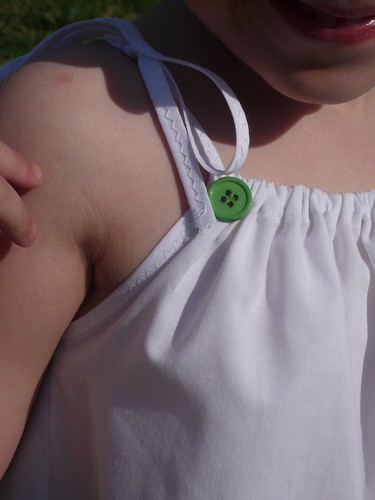
Step 15 (optional): Have your little helper choose 4 decorative buttons:
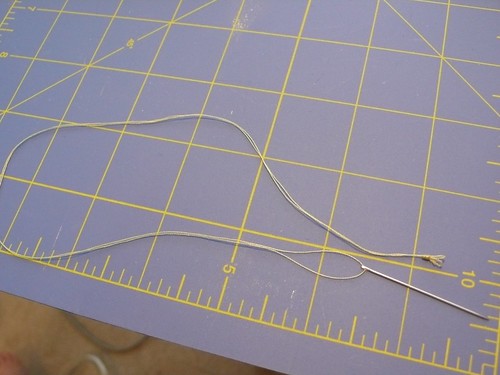
Cut a length of thread (coordinating color with button) to approx 2'. Thread through a sewing needle, double on itself and knot at the end.
Position your buttons at the base of each shoulder tie, and sew up through each button about 4 or 5 times at least (trying to find a missing button later on is oh-so-painful).
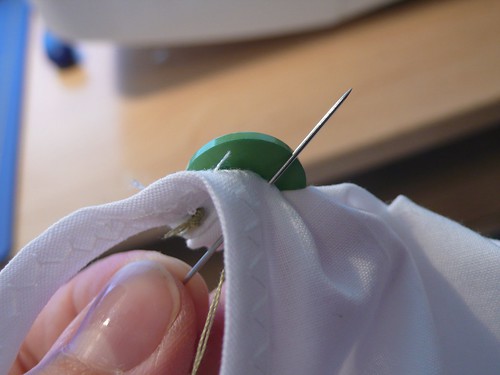
Once your button has been securely sewn on, push the needle up through the fabric just under the button, and wrap around the base of it 3 or 4 times.
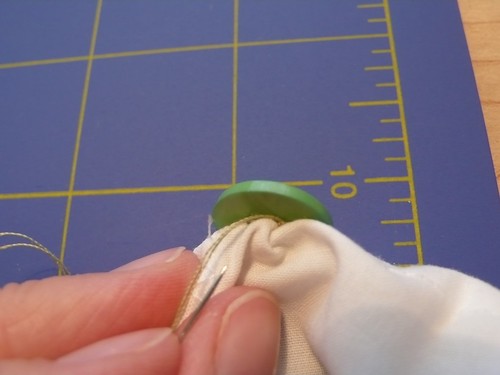
THIS BUTTON IS NOT GOING TO FALL OFF IF I CAN HELP IT. (!!!!) (So help me God.)
Bring the needle back through to the wrong side and knot as close as you can to the fabric. Trim all loose thread ends.
And there we go! A finished dress! Now give it one final press for a professional finish.
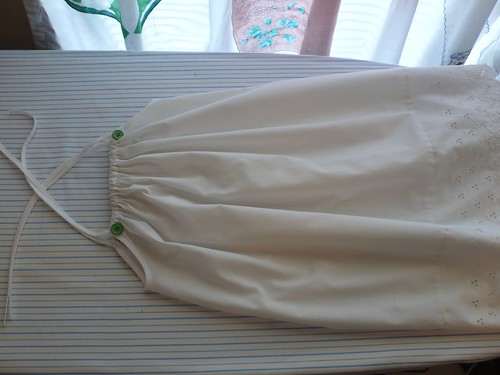
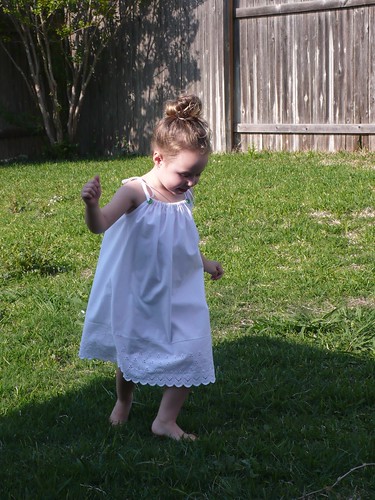
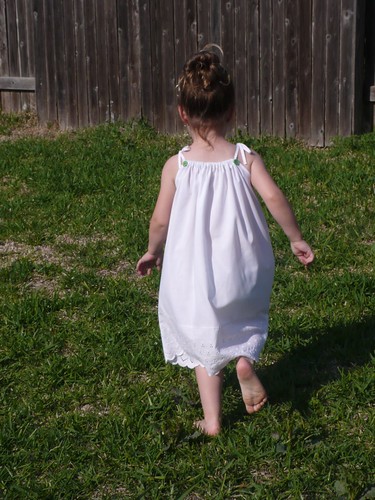
Suit up your little model, and send them traipsing about the yard for a photoshoot.

Because there's nothing like a fresh new dress to make you want to shout.
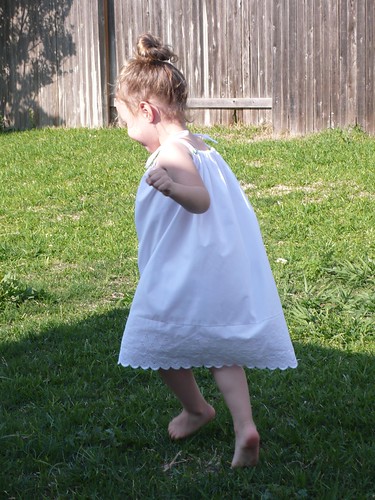
And dance.


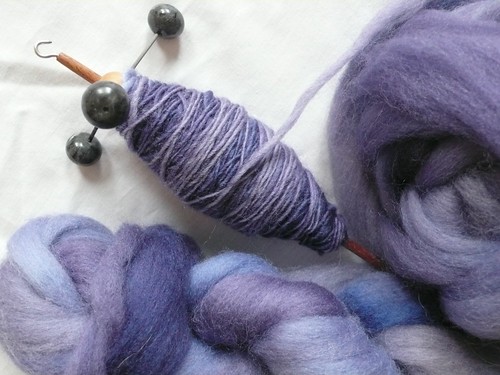












 , I CONSUMED IT WHOLE, YOU OPENED MY MIND, IT CHANGED THE WAY I SAW HANDSPUN, THE WAY I THOUGHT ABOUT EVERYTHING, AND, AND, AND, AND".....that's when I'd run out of steam and forget what I was saying because it was too hot outside and Lexi is too famous for me to be talking to, and....well you can see why I just stood there and smiled like a crazy person.)