Wednesday, March 27, 2013
Seeing Hearts
Ever since I saw this DIY on A Beautiful Mess, I've been wanting to make some too. After scoring a pair of skinny jeans at the consignment store ($5!!!), I picked up some acrylic paint and textil medium (to combine with the acrylic and turn it into fabric paint). Instead of contact paper, I used freezer paper to make stencils. I ironed them into position (shiny side down), and slipped a square of cardboard inside each leg behind the stencils to make sure the paint didn't bleed through.
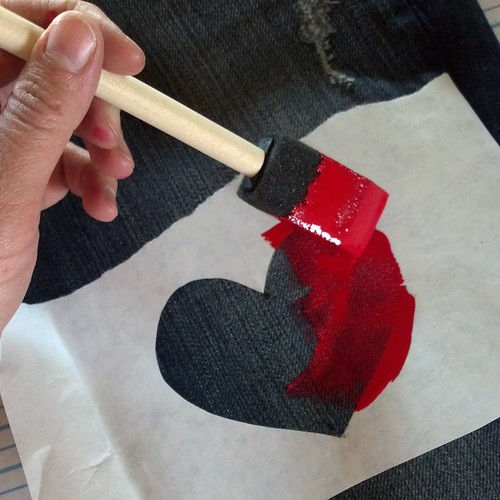
I sponged the red on in layers, allowing it to dry for anywhere from 10minutes to 1 hour in-between, until it was bright enough for what I had in mind -- this took from the afternoon until the evening. (I had the jeans slung over my ironing board near the kitchen, so as I went about doing whatever else needed to be done, I kept going back to it to apply another coat of color whenever I'd think of it.)
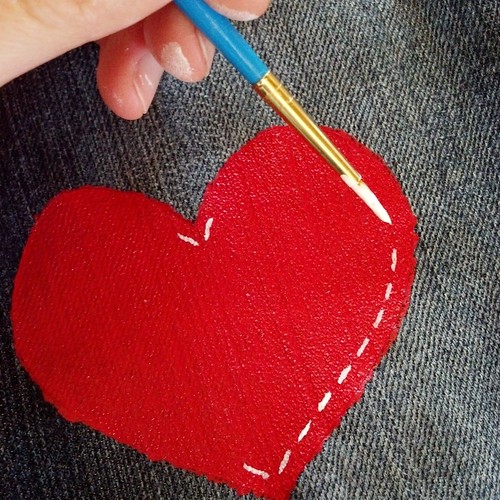
This morning, the paint was completely dry, so I peeled off the stencils and used a fine-tipped brush to add a white running stitch (going over them twice to make them really pop against the red). Because let's be real -- stitches make an already cute project just that much cuter.
A few minutes later, and I was playing dress-up in my new favorite pair of jeans.
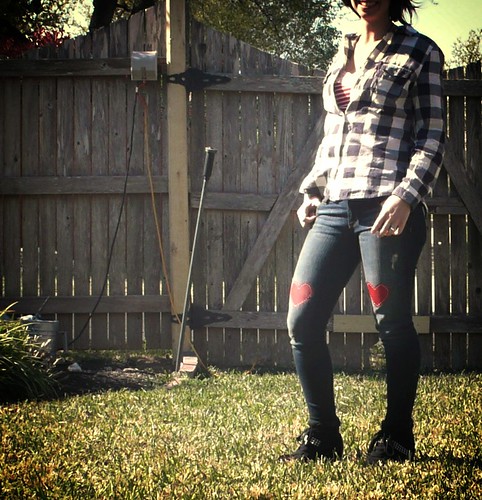
Mixing plaid and stripes and hearts -- so wrong, but so right. Or just so wrong. Depending. AND I LOVE IT!
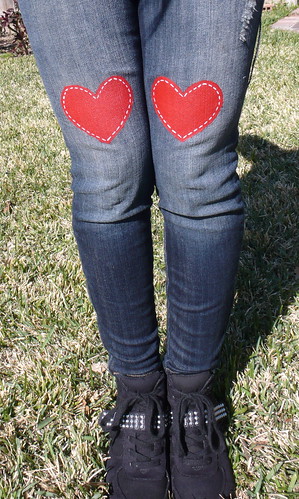
As you can see, I chose to paint the hearts on the thighs instead of knee-patches, because I was worried about decreasing the flexibility of the jeans and would hate it if the hearts stuck out awkwardly or cracked after wearing for an hour or two.
Now that I think about it, I definitely should have painted a pair of Lavella's jeans too, because that's what she's going to ask for as soon as she sees these.
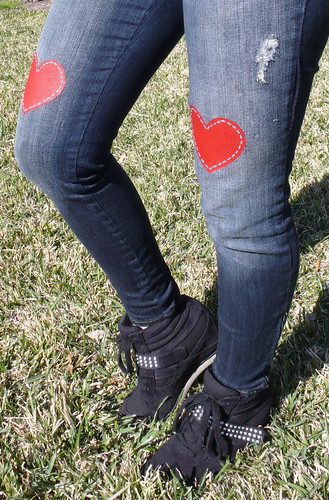
Flannel shirt and striped cami: Old Navy, skinny jeans: consignment find, wedge sneakers: Target
Tuesday, March 26, 2013
Insta-Update
Instagram posts and more from the past few weeks....
Cooking for a charity event
Shopping and Starbucks with Lavella
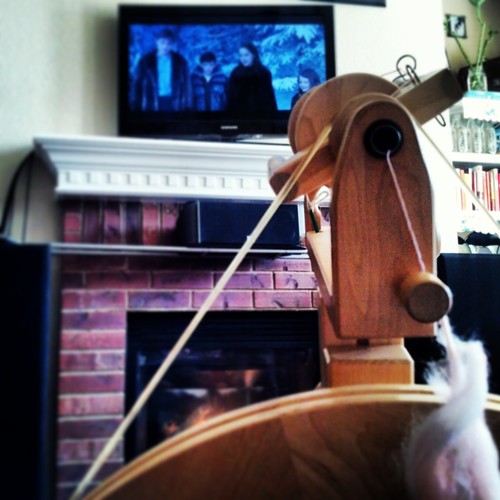
Spinning + Lion the Witch and the Wardrobe
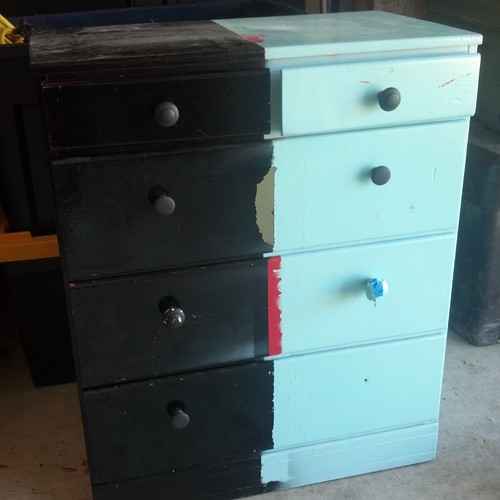
Old dresser/refinishing project
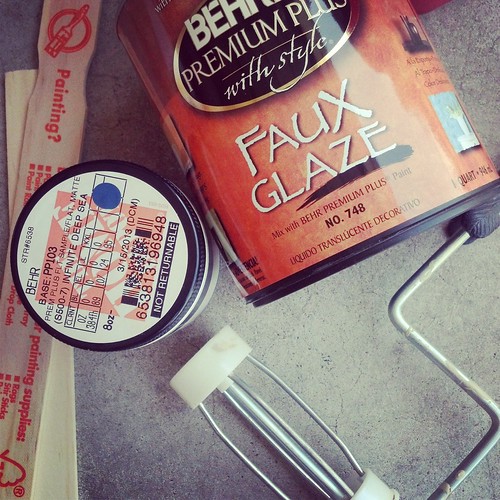
Supplies to refinish dresser
Essie Luxeffects - Stroke of Brilliance
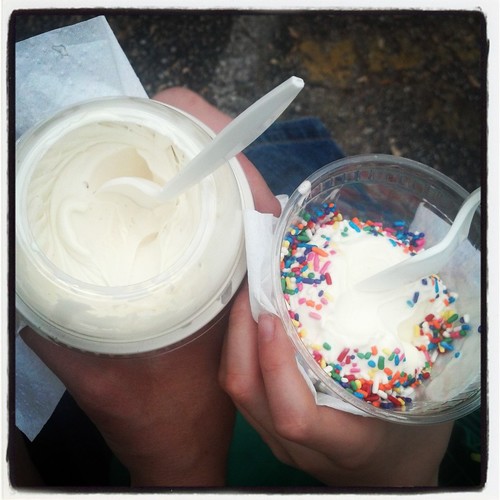
Frozen custard with Andrew
Heart jeans project (inspired by A Beautiful Mess)
(Texts between Jonah and my 4-year-old nephew about an upcoming visit)
Jonah: "Hey there, THREE MORE DAYS until I see you!!"
Chazz: "I am overwhelmed with excitement!!"
Wednesday, March 20, 2013
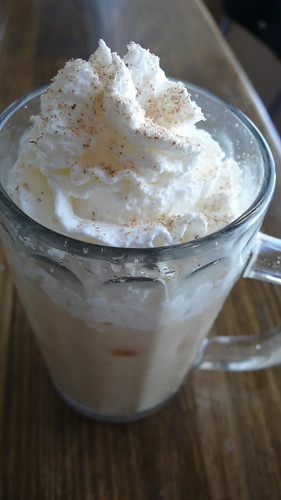
Iced Chai Tea Latte (simple/healthy Starbucks copycat)
Starbucks drive-through is a wonderful place where caffeinated dreams come true. It can also get kind of expensive. When I'm ready to work in my studio, I often like to have a little caffeine bump to boost my creativity and get me feeling motivated, so I've been making this creamy knock-off version of my favorite iced chai latte. (It's already in the 80's during the day here in Texas, so iced drinks are the only thing I'm craving!) It cures what ails me, takes less time and money than hitting the drive-through, and even better -- it's way healthier than the Starbucks version. Score!!
Iced Chai Latte (healthy Starbucks copycat recipe)
makes 1 serving
Ingredients:
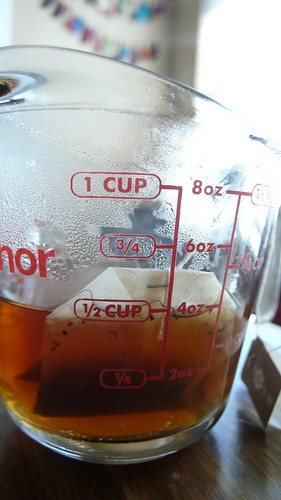
1 bag Stash Double Spice Chai tea (local friends -- you can find this at HEB)
1 good squeeze clover honey
approx. 1 cup milk of your choice (I used vanilla cashew milk today)
Place teabag in mug or measuring cup with a good squeeze of honey. Add approximately 1/2 cup boiling water. Allow it to steep for 5 minutes.
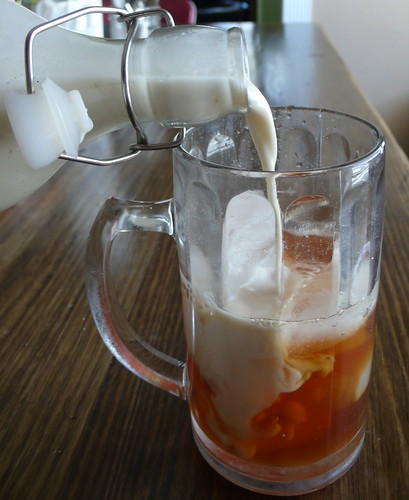
Remove teabag. Fill a tall glass with ice and add concentrated tea/honey mixture. Top up with milk of your choice.
Milk bottle with stopper from IKEA
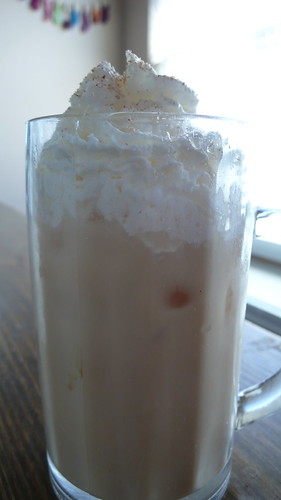
...And if you want, a good hefty cloud of whipped cream (with grated nutmeg, of course!) (To keep this completely vegan, check out this coconut whipped cream recipe here.)
Tuesday, March 19, 2013
WAY TOO MANY PILLOW PICTURES. Not sorry.
Yesterday I got nothing done at all. Except pillows. Now I may have too many. And I LOVE IT.
Do you remember these?
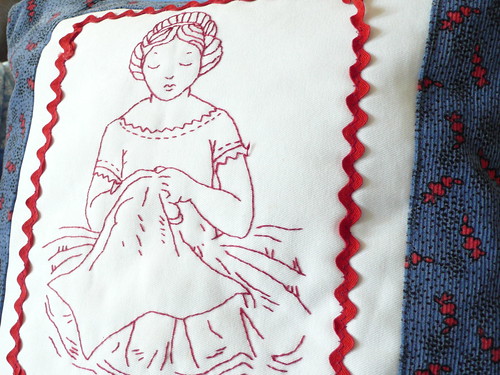
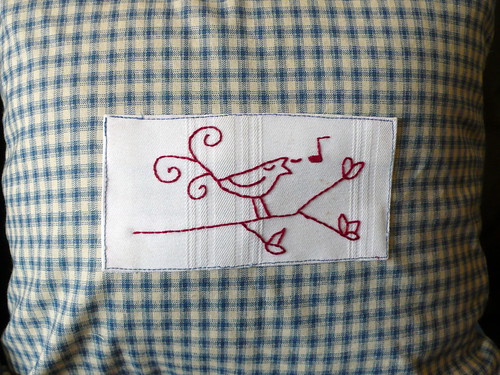
I ripped them apart, washed the hand-embroidered bits, and refashioned a set of miss-matched blue throw pillows for my living room.
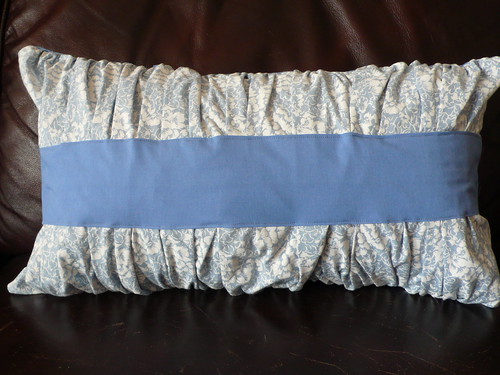
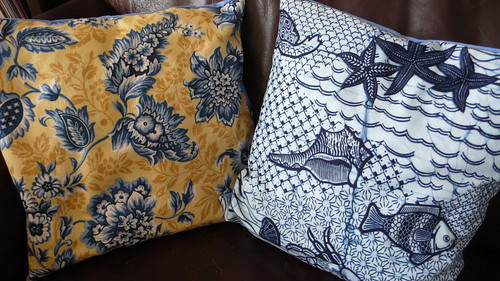
And then I made three more in various prints from my stash. Because here in the new house, I'm pretty crazy about blue.
(All of these cases were made with an envelope back so that I can wash the cases without the pillow forms when they get too grimy. Also, I reused the four forms I already had, so I only had to actually make the rectangular one. Yay!)
This morning, Jonah suddenly came to a very sad realization -- none of the pillows were specifically for him. He immediately pulled out a fluffy blue and white polka-dot fleecy fabric from my stash shelf, and....well...it was close to naptime, and his little face was so cute and sad. And I had just enough stuffing for one more pillow form. Now it's not sad anymore.
Monday, March 18, 2013
Spring Break 2013
Spring Break -- a whirlwind of fun/exhausting/exuberant activities with my children.....taking a breath this morning, and enjoying the deep quiet of handwork and projects, now that all four little people are back off to school.
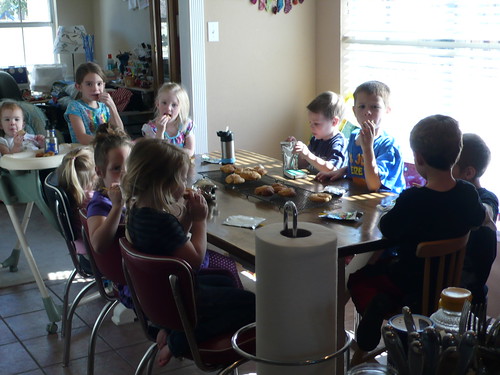
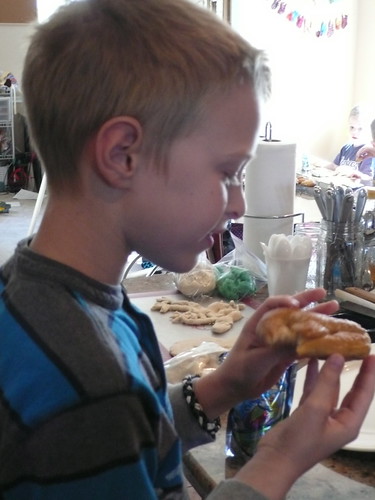
Soft pretzels (this recipe) and playdough with friends
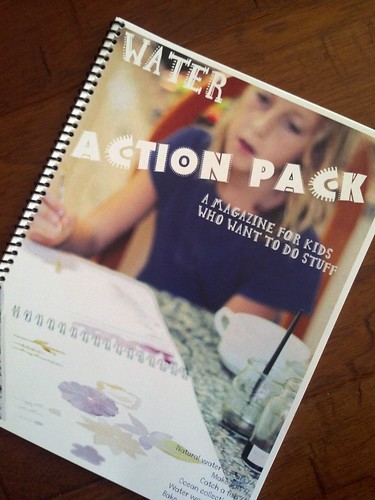
Had this e-zine printed and spiral-bound to make it more fun to reference projects
Natural watercolor project from Action Pack
Visiting with friends on their goat farm
Cameron Park Zoo in Waco, TX
Wednesday, March 06, 2013
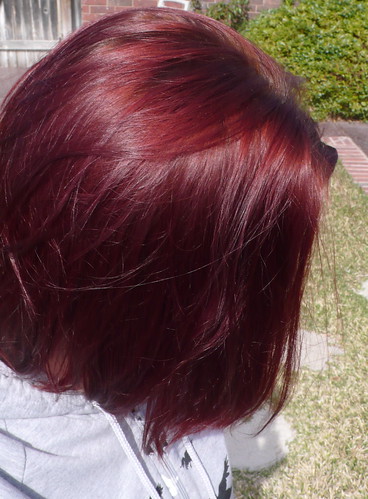
Coconut-Castor Oil hair mask
A few weeks ago I mentioned that I deep condition my hair and scalp with a hair mask once a week. It's a super simple DIY recipe, and works better than any masks I've bought (and gets rid of dandruff far better than T-Gel). Also, it's super cheap!! Here's what I do.
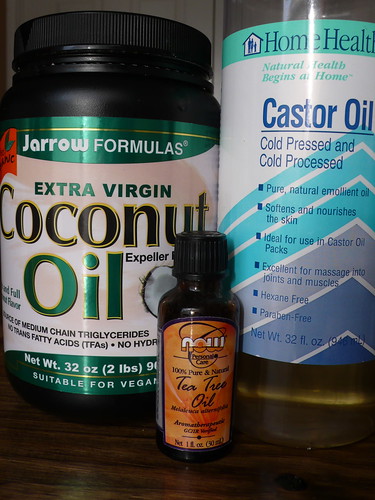
(I buy the coconut and castor in the large containers for the lowest price per oz, since I also use them for other things)
Ingredients:
Castor Oil
Extra Virgin Coconut Oil
Tea Tree Oil
Combine equal parts castor oil with extra-virgin coconut oil (I melt it first), add 10-20 drops of tea tree oil, and stir well to combine. I keep mine in a little sealed Rubbermaid snack-sized cup in my bathroom. It's easiest to use if you wait until it has cooled completely back down. Now scoop out a little bit at a time and massage thoroughly into scalp with your fingertips. Depending on how much time you have, here's the options: 1) put a shower cap over the whole mess and go to sleep. Wash out in the morning. 2) leave in for 30 minutes - several hours. Wash out thoroughly.
Castor oil is really thick, so it usually takes me 2-3 washes to get it all out, but I like how shiny and healthy my hair looks and feels after, and I LOVE having a healthy scalp with no more itching and flakes!
Because my skin reacts so much to the dry winter weather, I do this mask once a week. Find what works for you and let me know in the comments!
Tuesday, March 05, 2013
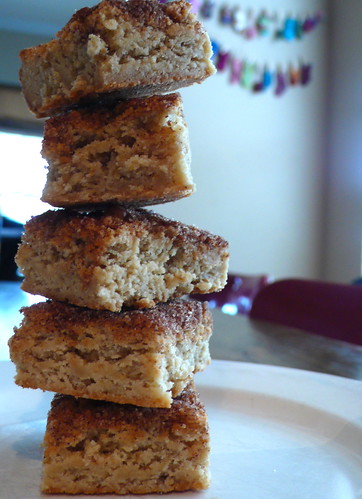
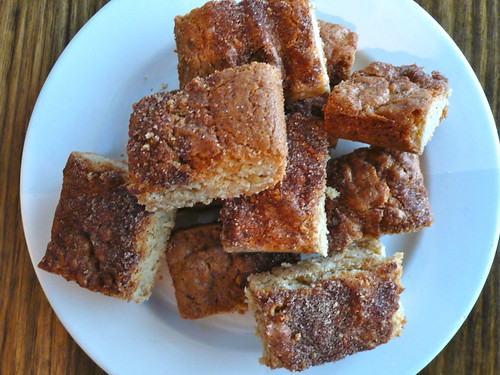
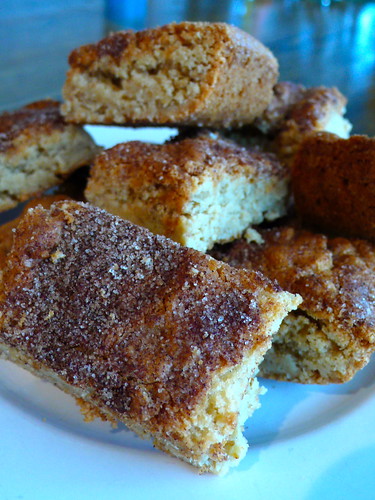
Snickerdoodle Oatmeal Blondies
Have you ever heard of the cookie called a Snickerdoodle? They are an old-fashioned New England and Pennsylvania recipe that predates the chocolate chip cookie -- and have nothing to do with Snickers candy bars. They are vanilla butter cookies coated in cinnamon-sugar -- essentially a "cinnamon toast cookie".
Twice recently I was in a situation where I needed a simple dessert on the quick. It needed to be faster than cookies (didn't have time to portion it out!), and come together more quickly than brownies (didn't have time to melt chocolate, didn't have enough cocoa powder on hand to make due with that!) Thankfully I found this recipe by Baking Bites and modified it a little, so here you go -- the perfect fast dessert using minimal ingredients, with buttery/spicy cinnamon toast flavors and a delicious chewy texture that will please nearly everyone.
Snickerdoodle-Oatmeal Blondies
yields a 9x13 pan of blondies to cut apart at your discretion
Blondies:
1 cup (2 sticks) unsalted butter, room temperature
1 cup white sugar
1 cup dark brown sugar
3/4 tsp salt
2 eggs
1 tablespoon vanilla extract
2 cups all purpose flour (one of these can be white-whole-wheat)
1 cup old fashioned rolled oats
Topping:
2 tablespoons sugar + 2 teaspoons cinnamon
Preheat oven to 350 and butter a 9x13" baking pan.
Beat softened butter and both sugars together until fluffy (about 3 minutes). Add salt, eggs and vanilla. Beat well until light (about 3 more minutes). Add flour and mix on low until just combined. Scrape the bottom of the bowl to be sure the flour is all incorporated. Add oats and continue to mix on low until they have just disappeared into the batter. Scrape the batter into prepared pan and smooth into the corners (it will be fairly stiff). Combine cinnamon and sugar and sprinkle over the surface. Bake for 25-30 minutes -- just until lightly golden. Allow them to cool for at least 10 minutes to set before cutting into them with a sharp knife.
Enjoy!
Subscribe to:
Posts (Atom)